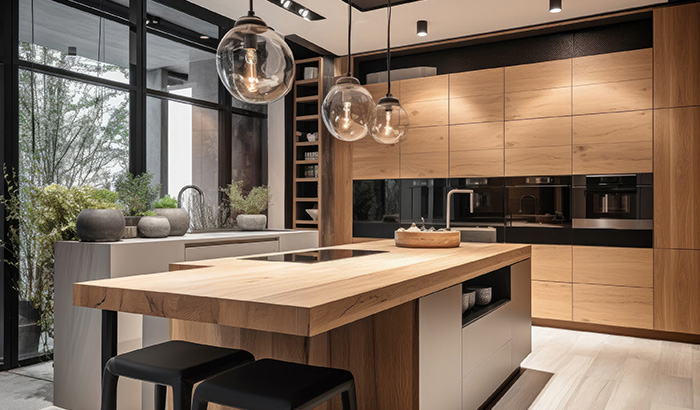
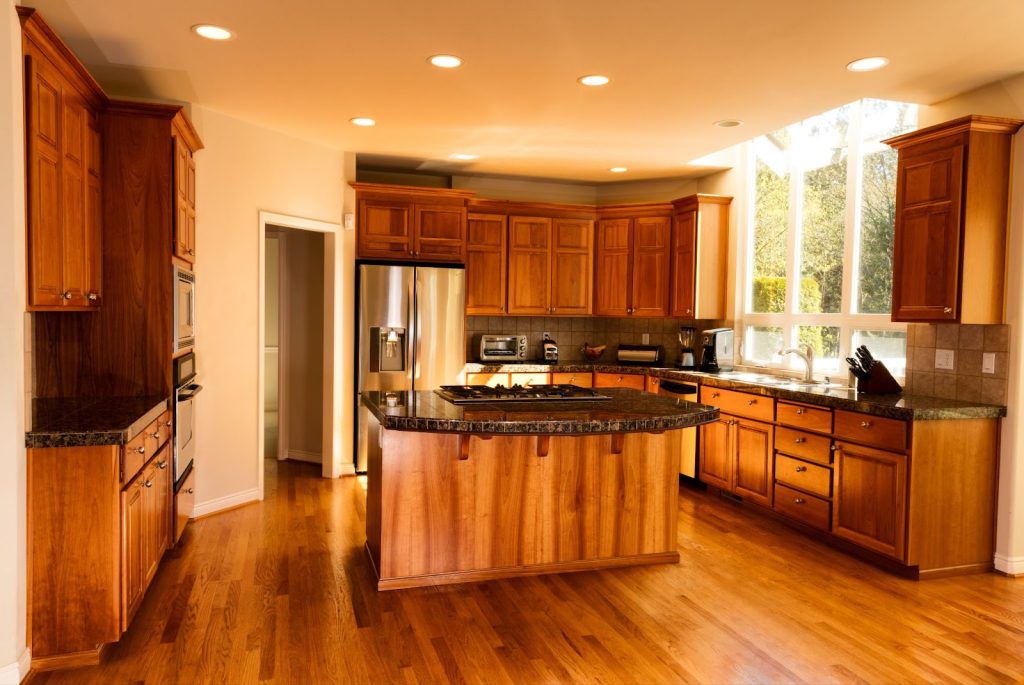
Starting a kitchen makeover may feel like climbing a mountain, especially when your wallet says, “Slow down,” but your heart screams, “Let’s go!” Your kitchen, the soul of your home, should mirror your unique style and the cozy moments shared over meals.
If your kitchen cabinets look tired or out of sync with your vibe, don’t worry. We’re here with an exciting fix that won’t break the bank or require a call to the pros. This guide is your all-access pass to revamping your kitchen’s look all by yourself, taking you from dreary to dreamy in manageable steps.
Our detailed 15-step guide is a straightforward path to infusing your kitchen with new energy, turning it into a lively area that sparks joy and creativity. We’ll be with you from the broom’s first sweep to the brush’s last stroke, helping you make choices and execute your vision.
So, let’s roll up our sleeves and dive into this adventure, transforming your kitchen with cabinets, countertops, and sinks into a space you love, a transformation you’ll be proud to show off every day.
Gather your tools
Before you dive into the project, make sure you’ve got everything you need. Here’s your checklist:
- Clean cloths
- Protective gloves
- Mild detergent
- Paintbrush
- Palm sander
- Fine and medium-grit sandpaper
- #000 Steel wool
- Wood stain
- Polyurethane sealer
- Scraper
- Chemical stripper
- Plastic sheeting or drop cloths
- Wood conditioner
Remember, this project will span a few days, so carve out enough time in your schedule to avoid rushing through the steps:
Step 1: Clear the stage
Kick things off by emptying every single thing out of your cabinets. You don’t want your favorite dishes or that random collection of take-out menus to get in the way or become victims of a dust storm.
Clearing everything out gives you a clean slate to start with and helps you see the space with fresh eyes, maybe even inspiring a bit of reorganization later on. Plus, it’s the perfect excuse to finally sort through what’s been hiding in the back of those shelves and decide what deserves to go back in once you’ve finished your makeover.
Step 2: Prep work
Remove all cabinet hardware, including knobs, pulls, and hinges. If your cabinets are new and unfinished or old and showing their age, shield your floors and counters with plastic sheeting or drop cloths. Scrub the cabinets with mild detergent and water, especially if previously painted or stained.
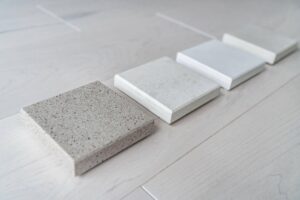
Step 3: Assess and plan
Look at your cabinets and decide on the finish you want. This will determine whether you’ll need a chemical stripper or if sanding alone will do. Planning is key to a smooth process.
Step 4: Safety gear up
Before you start stripping or sanding, gear up for safety. Wear gloves, a mask, and goggles to protect yourself from chemicals and dust. Safety should always come first.
Step 5: Strip it down
Wave goodbye to that old finish that’s been hanging around for far too long. You’ve got options: roll up your sleeves for some manual scraping and sanding action, or let a chemical stripper do the heavy lifting.
Your choice hinges on how big your project is and what shape your cabinets are in. And hey, don’t forget to open those windows and maybe even get a fan going — keeping the air moving is key when dealing with chemicals or kicking up a ton of dust. This step is about getting back to basics and setting the stage for that awesome transformation.
Step 6: Chemical stripping (if applicable)
If you’re using a chemical stripper, apply it according to the instructions. Wait for it to do its magic, then scrape off the old finish. You might need several applications for tough finishes.
Step 7: Manual scraping and sanding
For those opting out of chemical strippers, use a scraper to gently remove the old finish. Follow up with sanding, starting with 80-to-120-grit sandpaper, to remove any remaining finish and smooth the surface.
Step 8: Smooth as silk
After stripping, sand the cabinets with 150-to-220-grit sandpaper for a smooth finish. Follow the wood grain and patch up any imperfections. Dust off the sanding residue, and let the wood dry.
Step 9: Detailed cleaning
Vacuum the cabinets and the surrounding area to catch any lingering dust. A clean working area ensures a smoother finish and prevents dust from mixing into your stain or sealer.
Step 10: Conditioning for perfection
Slather on a thin layer of wood conditioner using a paintbrush to prepare the wood for that new color. This step is a game-changer for ensuring your stain goes smooth and even, which is super important if your cabinets have all those unique details and grooves.
It’s like giving your wood a quick pep talk before the big game, ensuring it’s all set to show off its best self. Plus, this little move helps avoid those blotchy nightmares, ensuring your cabinets look top-notch and pro. So, don’t skip it — this prep makes a huge difference in your kitchen’s final look.
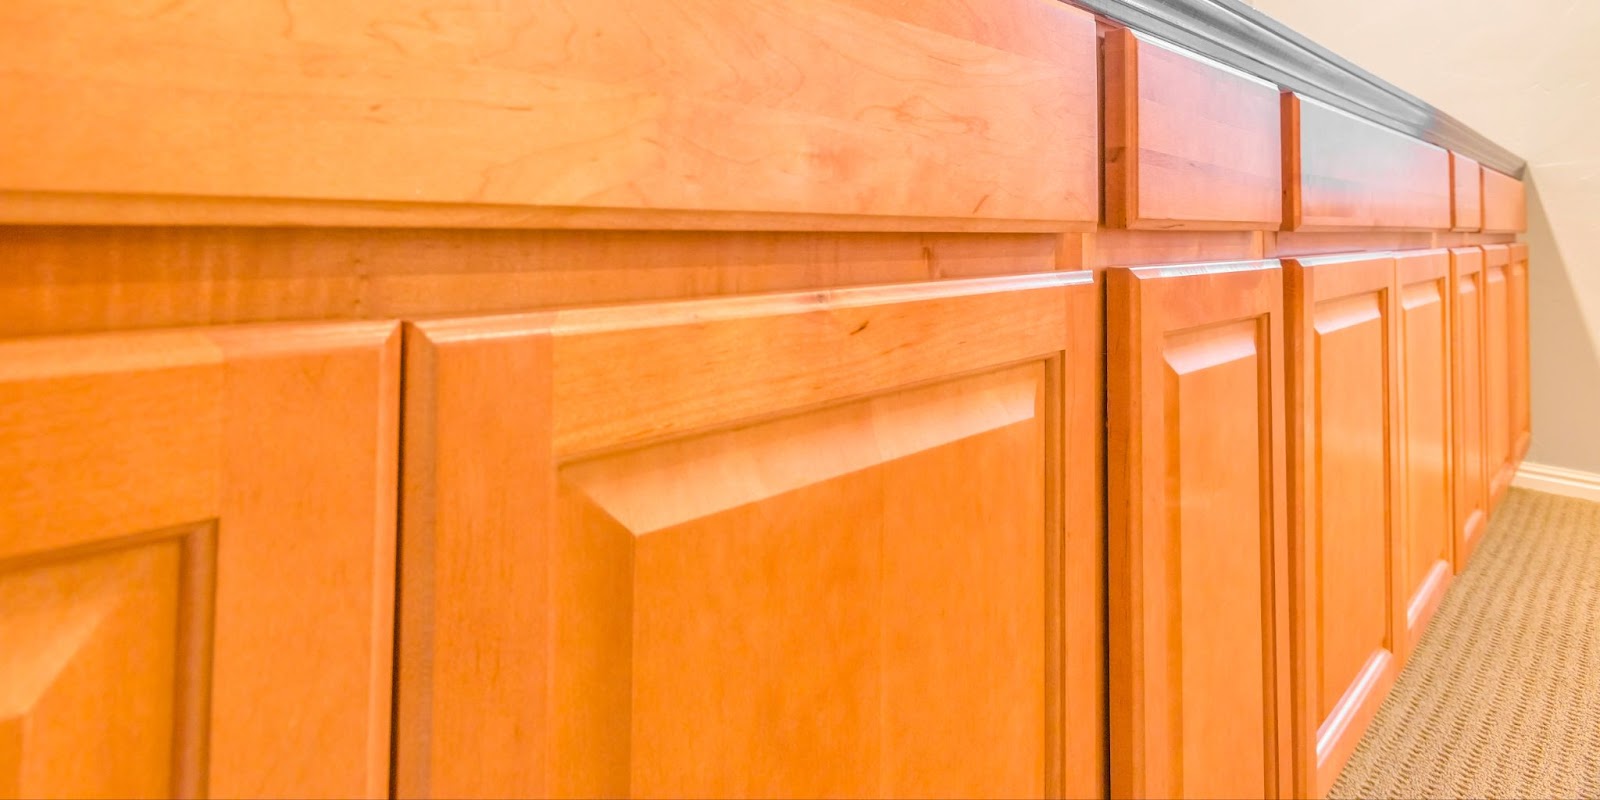
Step 11: The staining begins
First, sneak in a quick test of your stain on a spot that doesn’t shout for attention to ensure the color vibes with you. When you’re ready, dive in and start staining those cabinets, always going with the grain to keep it looking natural. Aim for that light, even coverage that speaks of a pro touch.
Let everything dry out entirely before you even think about adding more. This pause lets the stain set and gives you the perfect chance to step back and see if the color truly matches your kitchen dream. If it’s too light or patchy, you’re all set to go in with a second coat to deepen the shade and even things out.
Step 12: Evaluate and touch-up
After the first coat dries, closely examine the color and how evenly it covers your cabinets. Don’t hesitate to go for a second coat if the shade seems uneven or lighter than you hoped. It’s always simpler to deepen the color with more stain than to reverse the process.
Plus, taking the time to perfect the hue now means you’ll be happier with your kitchen’s new look for years to come. Patience here pays off, ensuring your cabinets wear their new color proudly and evenly.
Step 13: Seal the deal
Slap on that polyurethane sealer in nice, thin, even layers to shield your cabinets from the daily wear and tear. In between each coat, take a bit of fine-grit sandpaper or #000 steel wool and give them a gentle once-over to ensure the finish is smooth and tough as nails.
Remember, this sealer isn’t only a protective coat — the secret to that glossy, magazine-cover look that’ll make your cabinets pop. Plus, it locks in the stain color, keeping it vibrant through years of cooking adventures and family gatherings.
Step 14: The final touches
Once the sealer has fully set, give your cabinets one final gentle sanding or buffing. This is your moment to make sure every surface is flawlessly smooth. Grab a damp cloth to wipe away residual dust, then let it air dry thoroughly.
This meticulous attention to detail elevates your cabinets, giving them that luxurious, smooth-as-glass finish. These final loving touches make your kitchen shine, reflecting all the hard work you’ve put into this transformation.
Step 15: The grand reveal
Now, the moment you’ve been working towards: reattach the cabinet doors and hardware. Clean up your workspace, and take a step back to admire your newly refreshed kitchen cabinets. You’ve transformed the heart of your home with your own two hands!
Let’s recap what we’ve learned
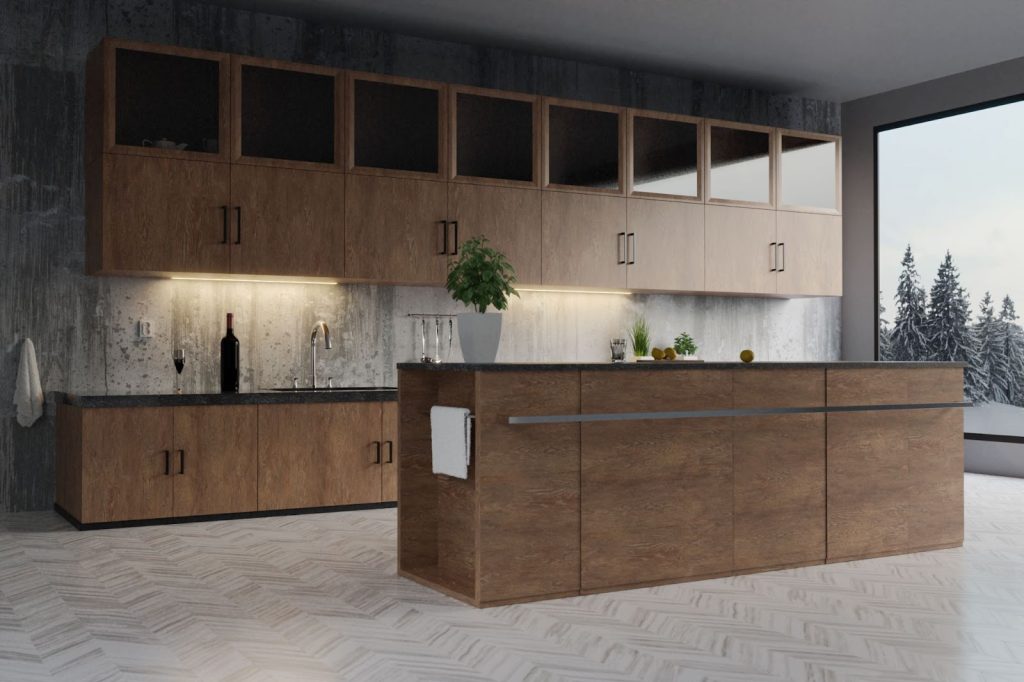
As we wrap up this guide, you stand at the threshold of a kitchen transformed, not simply in looks but in spirit. You’ve taken the plunge, armed with brushes and determination, and emerged victorious. Your kitchen cabinets now gleam with the pride of your labor, echoing your personal touch on every polished surface.
This journey proves that with the right guidance and a dash of elbow grease, revamping your kitchen doesn’t have to be a wallet-emptying ordeal. It’s a testament to the power of DIY, showcasing how a sprinkle of creativity and hard work turns the everyday into something extraordinary.
So, as you step back to admire your handiwork, remember this feeling of accomplishment. Your refreshed kitchen isn’t simply a backdrop for future meals; it’s a canvas where memories will continue to be painted, cherished, and shared. Here’s to the many joyful moments ahead in a space that truly feels like yours. Cheers to you and your new kitchen!
Mountain States Kitchen & Bath Offers Cabinet Staining Services
Thinking about giving your kitchen a new look but not thrilled about doing it all yourself? Let Mountain States Kitchen and Bath pros take the load off your shoulders. Seeing all the steps involved might have you leaning towards getting some expert help.
Why not consider having our team come in and set you up with new cabinets that will look great for years? Reach out to us and discover the possibilities.
Our design experts are ready to chat about what you’re looking for and what you love. We’re all about finding the perfect match for your home’s vibe, ensuring it fits your lifestyle and wallet. Contact us today to find out more. We can’t wait to help you make your kitchen dreams a reality!