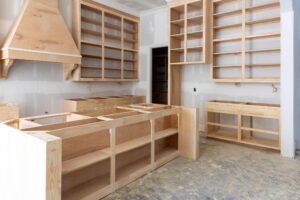
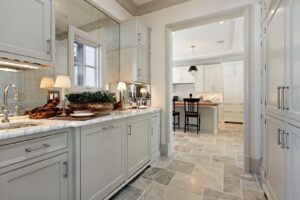
Is your kitchen or bathroom horribly out of date? Did you recently buy a home and you want to add some finishing touches to really make it yours? Do your kitchen cabinets have stains or water discoloration? Do you just need a change? Painting your kitchen cabinets is an easy way to make a dramatic change without a ton of effort, expense, or labor.
Painting your cabinets is an project that you can take care of yourself or with the help of friends. The good news is that painting your cabinets is a pretty simple project, even if you’re not a DIY expert. As long as you follow these simple steps you should be able to complete a kitchen cabinet painting project without any problems.
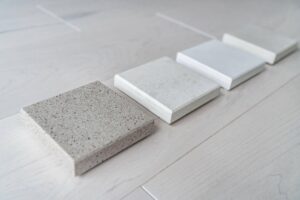
- Assess your surface. Ideally it’s best to paint flat, unfinished wood, but as that’s not likely the case you’ll need to find the right paints and primers. If there are imperfections or problems in the surface it may involve some sanding. If you are unsure about the appropriate types of paints or primer just consult an expert. The best kitchen cabinet company in Utah is Mountain States Kitchen & Bath, and they’ll line you up with the best choices for your cabinets.
- Remove your hardware and take off the doors. It’s not a bad idea to take a trip to a hardware store and see if there are more updated versions of drawer pulls or knobs that you like better, or that will fit your new kitchen update.
- Clean. It’s important that the surface of your cabinets is clean and free of dirt or other particles. The paint will bubble, wave, crack, and pool if the surface is unclean. Carefully clean the surfaces with a gentle cleanser and rinse, but don’t soak. Let the surfaces dry completely.
- Sand. You don’t need to strip the paint completely. The idea is just to roughen up the surface enough for the paint to stick smoothly. You can use an automatic sander if you can get one – they’re really easy to use and make the sanding process much faster.
- Prime. If you need primer definitely don’t skip this step. It allows the paint to go on more evenly and last longer. Take your time and do it right, letting it dry completely before the next step.
- Paint. Use a small brush around the edges or molding, a roller brush if the surface is mostly flat, or a sprayer if you have one. Resist the urge to rush through it and make sure you do it right! A small missed corner or a thin spot will show when you hang them up. Go slow and then double check for touch-ups before you reattach hardware and hang.
Another fun thing to do is to take before-and-after pictures of your kitchen so you can be proud of all your hard work! If you have questions or need a little extra help don’t hesitate to call Mountain States Kitchen and Bath.