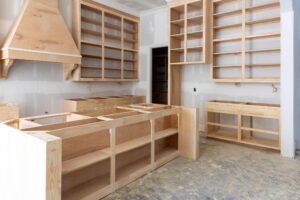
Here is the continuation of staining your cabinetry.
Step 4
Before staining, use wood conditioner first. Apply it with a paintbrush. If you have inset paneling or other intricate detailing, consider using a small brush to reach all the nooks and crannies. If you have just flat surfaces, use a wider brush. Coat the surfaces thoroughly with a thin layer of conditioner. After the cabinets dry, lightly scuff them with #000 steel wool.
Step 5
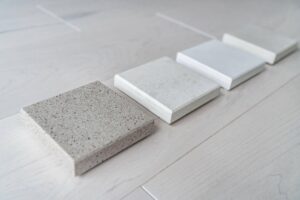
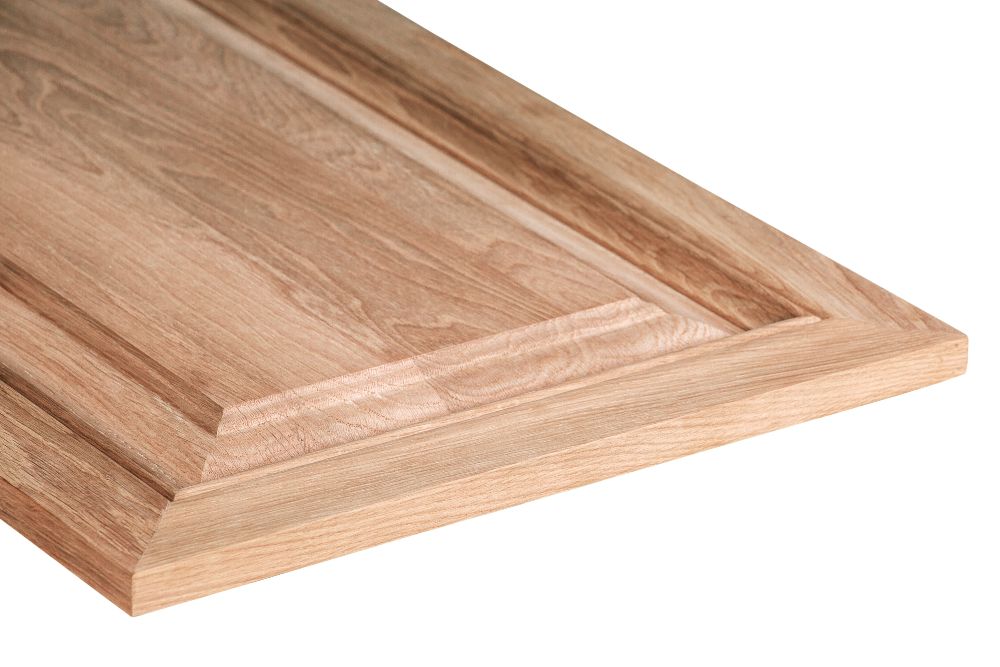
First, test a chosen place, somewhere hidden, before you apply the stain to all your cabinets. Let it dry and then decide if you like it. Then, use the stain with a paintbrush or a clean, soft rag. Aim for a light, even coverage, and work in the direction of the grain. If you notice one section looks darker than another, don’t fret. You can lighten it up by rubbing off the excess stain with a clean rag. After every surface is coated, let the stain dry. It may take a day or two, depending on your humidity levels. Be careful not to allow dust or dirt to land on your cabinets. After the stain is fully cured, assess whether you need a second coat. If you use a lighter color, you may not need one, otherwise, do two layers.
Between coats, take steel wool and lightly scuff the cabinet surfaces. If the stain color still isn’t dark enough for your needs or desires, repeat the process a third time.
Step 6
If you have a stain-seal hybrid for a one-step process, you’re done. If not, it’s best to seal your cabinets to prevent the usual wear-and-tear. The polyurethane goes on with a paintbrush with two thin coats. Remember that applying the sealer will accentuate any imperfections on the surface, so you may want to sand them down again. After sanding, remove dust with a moistened cloth. When the cabinets dry, apply the sealer in long, overlapping strokes. Keep the sealer thin, so it doesn’t drip or pool. Now, wait for the sealer to cure, and again, take great care to prevent dirt or dust from landing on your cabinets.
Once the sealer cures, sand the cabinets or lightly buff them with steel wool. Wipe off the dust and apply the final coat of sealer.
Step 7
Now, it’s time to hang the cabinet doors and replace the knobs or pulls. Take some pictures and send it to family and friends, admiring your hard word and how your new cabinets changed the look of your kitchen, giving it a fresh and attractive appearance.
Mountain States Kitchen & Bath Staining Cabinets Service
Here’s an alternative to DIY. Let Mountain States Kitchen and Bath do the heavy work for you. Now that you see what goes into the process, it may make you reconsider having a professional come out and install new cabinetry that will last for years to come. Contact us and see what we can do for you. We have design experts on hand who will discuss with you your needs and desires, and best, find the right cabinets to fit your lifestyle and budget. Call us today to learn more.