Countertops are more than mere surfaces; they’re the stages where life’s daily dramas and joys unfold. Whether it’s a family meal, a bustling dinner party, or getting ready for bed at the end of the day, the right countertops set the scene for these moments. But how does the countertop installation process work? Let’s pull back the curtain on this transformative journey from quarry to kitchen.
Step 1: Choosing Your Material
The first step in countertop installation is selecting what type of countertops you want. Countertop types vary widely, from the natural elegance of granite and marble to the engineered beauty of quartz and laminate. Each material has its characteristics and qualities, and the choice depends on your lifestyle and taste.
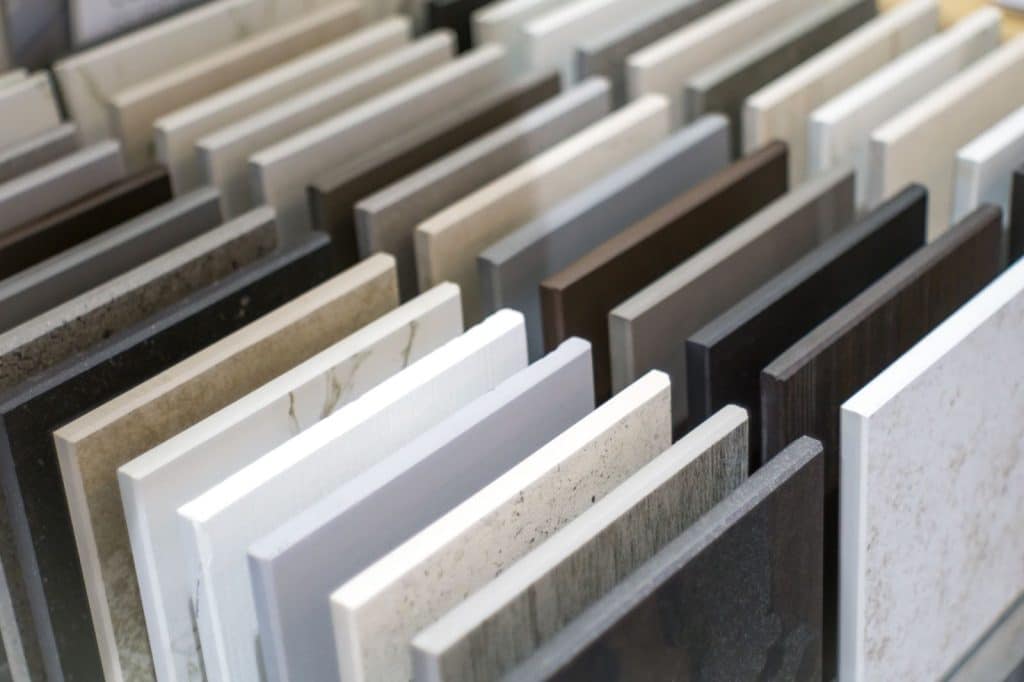
When selecting countertops for your kitchen or bathroom, there are several types to consider, each with its characteristics, benefits, and aesthetics. Here’s a rundown of some popular countertop options:
- Granite Countertops: Granite is a natural stone that homeowners have long favored for its beauty and durability. Granite is heat-resistant and, when sealed properly, resists stains and scratches.
- Quartz Countertops: Quartz is an engineered stone. It’s made with a blend of natural quartz and polymers to create a stone-like material that’s virtually indestructible. It’s incredibly durable, non-porous, and doesn’t require sealing.
- Marble Countertops: Marble is renowned for its timeless elegance. It’s naturally cool, which is excellent for baking prep, but it’s also softer and more porous than granite or quartz, making it more susceptible to staining and scratching.
- Laminate Countertops: Laminate is a budget-friendly option that has come a long way in terms of quality and design. It’s made from layers of plastic bonded to particleboard or plywood and can mimic the look of wood, stone, or even metal. Laminate is lightweight and easy to clean, though it can be damaged by heat and sharp objects.
- Solid Surface Countertops: Made from acrylic, polyester resins, and even marble dust, solid surface countertops can be custom-fabricated to fit any design. They’re durable, non-porous, and easily repaired if scratched or dented.
- Butcher Block (Wood) Countertops: Butcher block countertops add warmth and natural beauty to a room and are made of pieces of wood bonded together. It works well in both traditional and modern spaces. While wood countertops require regular maintenance, including oiling, they can be sanded and refinished if damaged.
- Soapstone Countertops: Soapstone is a natural stone that offers a soft, matte feel. It’s non-porous, so it’s resistant to stains and bacteria, and it’s also heat-resistant. Soapstone does scratch easily, but many homeowners appreciate the evolving patina it develops over time.
- Concrete Countertops: Concrete countertops are a versatile choice if you’re looking for an industrial look. You can cast them in any shape and tint them to any shade. Concrete is durable but needs to be sealed regularly to resist stains and avoid water damage.
- Stainless Steel Countertops: Stainless steel is a modern, hygienic option in professional kitchens. It’s heat-resistant, easy to clean, and resistant to bacteria. It can scratch and dent, but these marks enhance its industrial aesthetic over time.
Each type of countertop material has unique benefits and potential drawbacks, and the best choice for your home will depend on your style, budget, and how you use your kitchen or bathroom.
Whether you’re looking for the natural beauty of stone, the durability of engineered materials, or the warmth of wood, there’s a countertop option out there that’s perfect for your space in both function and feel.
Step 2: Measuring Your Countertops
Precise measurements are paramount when installing new countertops. Measuring is a critical step in the countertop installation process, where our specialists meticulously measure your space.
When measuring for countertop installation, every dimension is accounted for, including the length, depth, and corner angles. Specialists use traditional tools, like tape measures, and advanced digital equipment, such as laser scanners, which cap exact contours and obstacles of the installation site, such as sinks, appliances, and backsplashes.
This data is then translated into a template that serves as the blueprint for cutting your chosen countertop material. Accuracy at this stage is paramount, as it sets the foundation for a seamless installation. Accurate measurements ensure the final product fits perfectly and complements your space’s functionality and flow.
Step 3: Crafting Your Countertops
After measurements, your chosen material enters the workshop phase, where countertop types are transformed into the final products. This is where the countertop installation truly begins.
Once the raw materials are harvested, they’re transported to production facilities, where they’re transformed into the countertops you use in your home. The blocks are first cut into slabs of the desired thickness for natural stone countertops. The slabs are then polished so they’re installation-ready.
Engineered stones, like quartz, undergo a slightly different process. Under intense heat and pressure, ground quartz is combined with resins and pigments, resulting in incredibly durable, non-porous slabs available in various colors and patterns.
Artisans work with a blend of traditional techniques and cutting-edge machinery to sculpt your countertops to the exact dimensions required. The best artisans pay close attention to the grain of the stone, the pattern of the laminate, or the hue of the solid surface so that your countertops are as beautiful as they are functional.
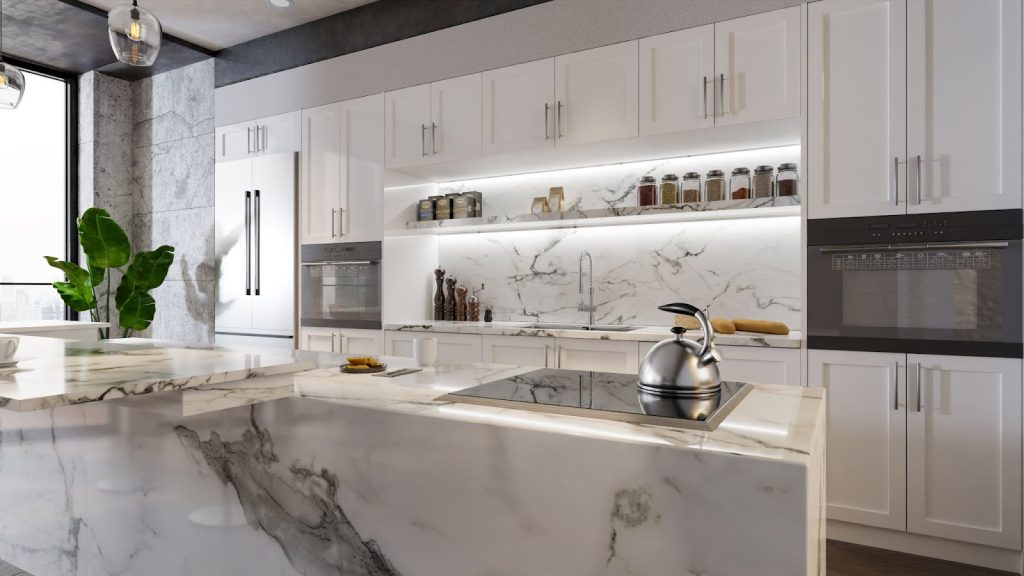
After the slabs are created, they’re ready to be customized to fit your space’s unique dimensions and design preferences. This process is where the precise measurements from earlier pay off. Countertops are measured and then cut to size. Keeping in mind details such as edge profiles, sink cutouts, and faucet holes, the countertops are meticulously crafted to ensure a perfect fit.
Step 4: Removing Old Countertops
If you are replacing old countertops with new ones, then removing old countertops is a critical step in the journey toward a kitchen or bathroom makeover.
First, you must clear the counters and disconnect fixtures like sinks or cooktops. Then, after shutting off the water supply, you’ll gently pry away the countertop from the cabinets below.
Prying off a countertop is often done with putty knives or pry bars. Those removing the counter should be careful not to damage the underlying structures that support the countertop. Screws or adhesives that may be holding the countertops in place should be removed or dissolved.
Successfully removing countertops requires a delicate balance between using enough force to lift the countertops and being gentle enough to preserve the integrity of the cabinets below. Once the old countertops are free, they should be lifted away — ideally with the help of a partner, as they can be pretty heavy and unwieldy.
Proper disposal or recycling of the old materials is the final step, clearing the way for your beautiful new surfaces to take their place.
Once you remove the old countertop, make any necessary alterations to your existing cabinets so that they fit the new countertop. These alterations are significant if the new countertop is a different shape or size than the original.
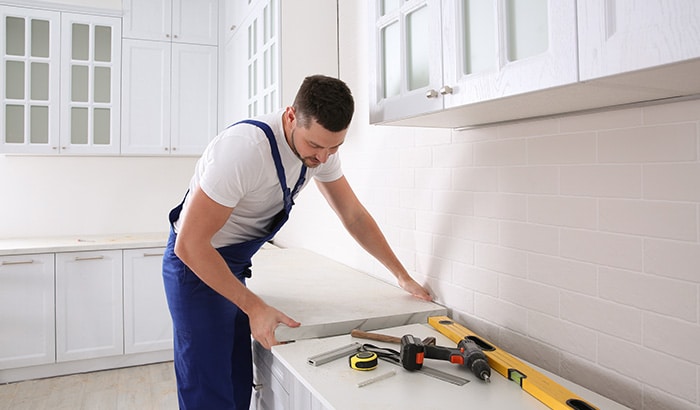
Step 5: The Grand Installation
Now for the main event — installing your new countertops. The installers will bring in the pre-fabricated slabs tailored to the precise measurements of your space. Installers will secure the countertops, ensuring they are level and firmly attached to the cabinetry. They will also apply sealant for materials like granite or marble to protect it from stains.
After installing the countertop, replace fixtures and hardware, such as sinks or cooktops, to add the finishing touch. Now, your new countertops are ready for you to use.
Mountain States Kitchen & Bath: A Product That Lasts
At Mountain States Kitchen & Bath, the countertops we install are more than a finishing touch; they’re a lasting addition to your home’s story. With the countertop installation complete, you’ll witness the remarkable transformation of your space. The right countertop types elevate the mundane to the magnificent, turning simple tasks into cherished routines.
Countertop installation is a meticulous process that requires skill, precision, and an eye for beauty. From the initial selection of countertop types to the final touches of installation, Mountain States Kitchen & Bath is dedicated to ensuring that every detail is perfect. We’re here to guide you to a flawless finish that will serve as the backdrop for life’s everyday moments.
Contact Mountain States Kitchen & Bath or call 801-2856769 today and see how we can transform your kitchen or bathroom.

