Replacing your home’s flooring is a great way to give your space a fresh, updated look. What a perfect Christmas gift to give to yourself this holiday season, But, if high-quality flooring and having it professionally installed kills your Christmas budget, you may want to try the DIY route. However, if you do, there are some things you’ll want to know first—particularly for vinyl flooring. Discover the top things you should know about DIY vinyl installation.
Table of Contents
ToggleChoose the Right Tools
Tackling a DIY project takes time and skill. Not everyone can attempt it without wanting to pull their hair out in the process. But, if you’re up to the challenge and don’t mind doing some research beforehand, the first thing to know is about choosing the right tools. It doesn’t matter if you’re enthusiastic about doing something yourself if you don’t have the right tools for the job. But, before you go tool shopping crazy, you’ll want to know which type of flooring you want. Checking out installation videos is a great start.
Vinyl material requires careful measurements and precise cutting for the patterns to be just right. Here are the tools you may need to have on-hand:
- Pencil
- T-square
- Glue
- Tape
- Safety glasses
- Broom/vacuum
- One of the following: Jamb saw, table saw, miter saw, circular saw, jigsaw, and ¼ in or ½ inch spacers.
- Underlayment and transition moldings
- Hammer
- 6-foot level
- Tapping block
- Tape measure
- Moisture meter
- Polyethylene sheet plastic as a moisture barrier over concrete (6 mm to 8 mm)
Expect the Unexpected
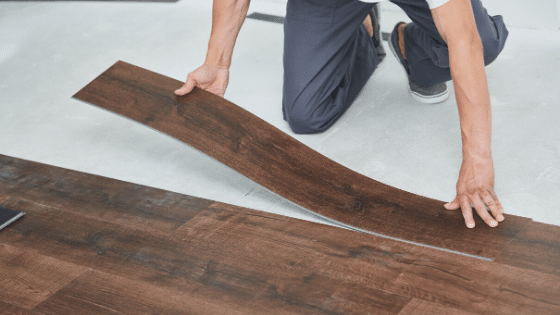
Professionals have years of training and experience, meaning they could take less time to finish the job, as opposed to someone who’s never installed flooring. So, for you, that means allowing plenty of time for your DIY project. In an ideal world, everything will go as planned when it should; but in the real world, things happen. It could take a day or several days to install your vinyl flooring, depending on the size of the flooring you need. If you’re into the “click-together” flooring, it can take less time than the nail-down floor types. But, again, ensure you do your homework, so pesky mistakes don’t turn into major ones.
Prep Your Floors
Before you dive into installing your new flooring, you need to do surface preparation. If your project involves a lot of surface prep, make time for that to happen. Start by ripping up old carpets, tile, or old vinyl flooring. Then ensure the subfloor is sound, level, and solid. Check for any bumps or irregularities on the surface as that could cause the vinyl flooring to wear and maybe even tear. Next, test the floor for moisture. Clean the floor with a wet-dry vacuum to remove any dust and debris.
Always take safety precautions by wearing a face mask or respirator when sanding concrete or wood. Keep windows open to allow for plenty of ventilation. This prep work could easily take a whole day.
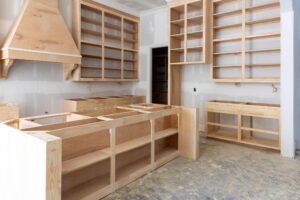
Call Mountain States Kitchen and Bath
If you’re looking to upgrade your cabinets along with your flooring, contact us at Mountain States Kitchen and Bath for the latest, greatest trends in cabinets, and ring in the new year with a whole new look.